How to deal with iCloud Calendar spam

Spammers have found a way to get spam into your calendar and all you have to do to facilitate it, is simply by receiving their email.
macOS and iOS automatically scan your emails for events, dates and times that are mentioned and creates a calendar event for you. A very handy feature but now spammers have found a way to exploit that.
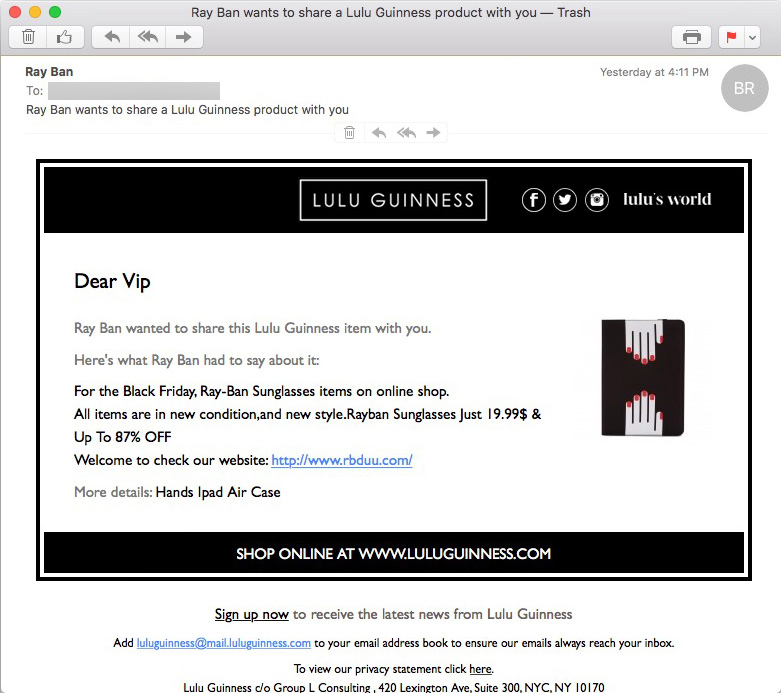
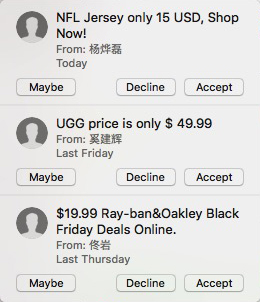
An email is sent to you (and thousands of others) with an event such as “UGG price is only $49.99” or “NFL Jersey only 15 USD, Shop Now!” Your Mac or iOS device picks up on that email and automatically puts it in your calendar. Once in the calendar it pops up a notification of the event with three options: “Maybe”, “Decline” or “Accept”.
Of course you can simply click “Decline” and delete the event but that will likely increase the amount of spam coming your way as it lets the scammers know your address exists. Regardless of which button you click, it sends feedback to the spammers confirming the address is valid and more spam can be sent to it.
So what are your options?
Of course you can accept the events and shop yourself silly! You may receive some shiny new glasses or get your credit card details stolen, who knows. A better option is to delete the events without letting the spammers know your address exists. To do this you need the Calendar app on your Mac or iOS device, it can’t be done on the iCloud website though you’ll need the website too but we’ll get to that.
For these steps I’ll use the calendar app on the Mac as an example.
- Open the Calendar app and go to the File menu.
- From the File menu select “New Calendar” and if a sub-menu pops up, select “iCloud”.
If iCloud is the only service active for the calendar, the sub-menu might not show. - Name the new calendar “Spam” or something to clearly identify it as such.
- Find the spam events in your calendar, click and drag them to the new Spam calendar.
- With all spam events transferred, right-click on the Spam calendar and select “Delete”.
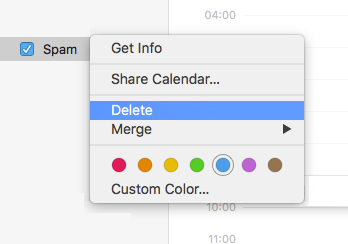
This got rid of the spam events without letting the spammers know if the address exists or not.
If you have clicked the “Decline” (or any other) button before and manually removed the events you may be in line to receive more spam. To prevent this from taking over your calendar again you have to disable the feature that automatically adds such events to your calendar. This is probably a good idea even if you didn’t click any of the event buttons at least until Apple implements a way to deal with this kind of spam.
- To disable the automatic adding of events to your calendar you’ll need to log in to your account on the iCloud.com website. Once logged in, go to Calendar.
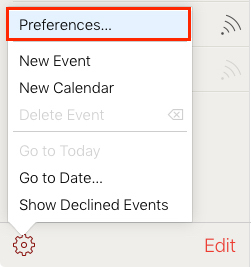
- At the bottom left corner, under the list of calendars, there’s a cog icon, click that and go to “Preferences”.
- In Preferences, click the “Advanced” tab.
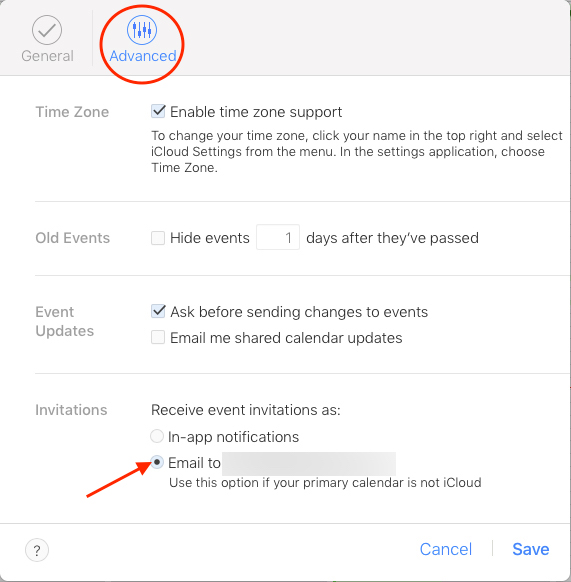
- At the bottom of the Advanced Preferences you can change how invitations are handled by your account. Set this to “Email to..” and click Save.
Now every time an invitation comes your way, you’ll receive an email instead of the in-app notifications.
With your calendar back under your control you can focus on the spam emails directly. Make sure you mark spam as spam rather than deleting it right away. This will train your Mail client and helps it to recognize such spam messages better in the future.