Basic Setup
Open the Server app. Follow the set up and let it configure itself. If you already have a server running or want to set up your new server as a local server only, skip this next bit. If you want to convert your local network server to a public one or set up a new server and want to make it internet accessible, follow along.
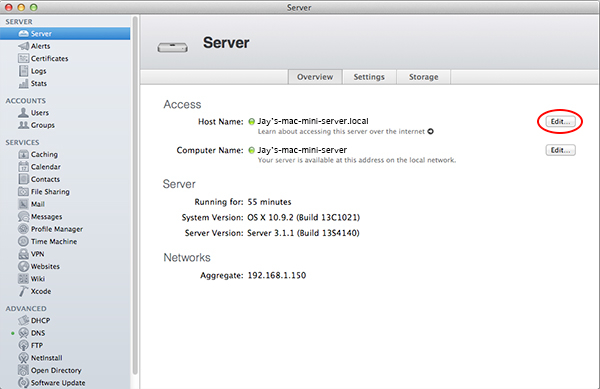
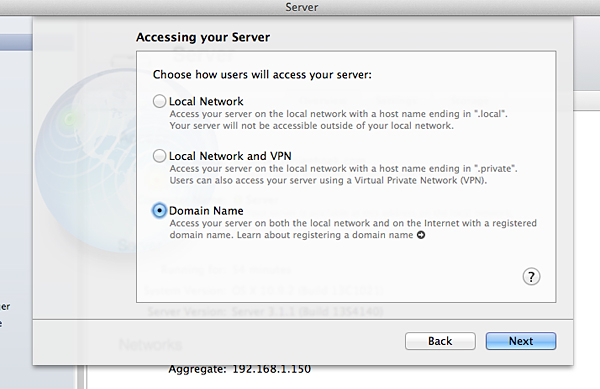
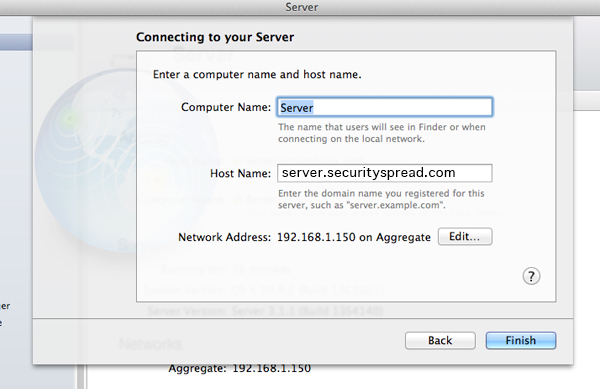
In the main Server app window, click the “Edit” button to change the Host Name. From the options provided select “Domain Name”. If you want to keep your server private, select “Local Network”.
You might get asked if you want to set up DNS, if it asks say yes.

Click the “Settings” tab in the Server app window and click the “Edit” button to set up a Service Data location. If you partitioned your drive, select the largest partition. If you have multiple drives, you can also select another drive or even an external one. Once selected and saved let the Server app do it’s thing and copy all data to the new location.
That’s it for the basic setup.
Before we start setting up services, let’s cover certificates. Your server has a self-signed certificate that is created when the server is set up. This certificate is as good as any but if you want to avoid “this certificate is not trusted” warnings popping up on your client machines you should create your own Certificate Authority (CA) and a new certificate. The CA will sign your certificates and will become your root. This is the certificate you will securely distribute to your other machines so that they will always trust other certificates you use. I have read a lot about certificates and if done properly, a self-signed certificate is just as secure as one you purchase online. So I chose to stick with my own self-signed certificates. Also, I will not be running a website or other service many people will connect to. If you do plan on having a lot of users including unknown ones (website visitors) you may want to consider purchasing an SSL certificate.
This is a bit of an undertaking and can be done at another time if you want. Doing it now will make sure you do not have to change certificates in certain services down the road. It’s also a bit more pleasant and reassuring for your clients to not see any trust warnings (and again down the road after you change certificates). Again, if this server is just for you, stick with the self-signed default certificate. If you have clients other than yourself like family or a small group of friends then create your own CA.
If you do not know how certificates and certificate authorities work I suggest doing some research. A basic understanding will make this process easier to follow. Think you’re ready? Continue to the next page.
<- Page 2, Preparations || Page 4, Certificates ->
(Page 3)